Mastering Flutter BLoC A Practical Guide
State management is a critical part of any Flutter application. As your app grows, managing how data flows can get complicated. This is where a solid architectural pattern comes in, and for many Flutter developers, BLoC is the answer.
The BLoC (Business Logic Component) pattern helps separate your app’s business logic from its UI, leading to code that is easier to test, maintain, and scale. But just knowing about BLoC isn’t enough. Using it effectively is what makes the difference. This guide will walk you through a practical, code-heavy example to help you master the Flutter BLoC pattern.
What is BLoC and Why Use It
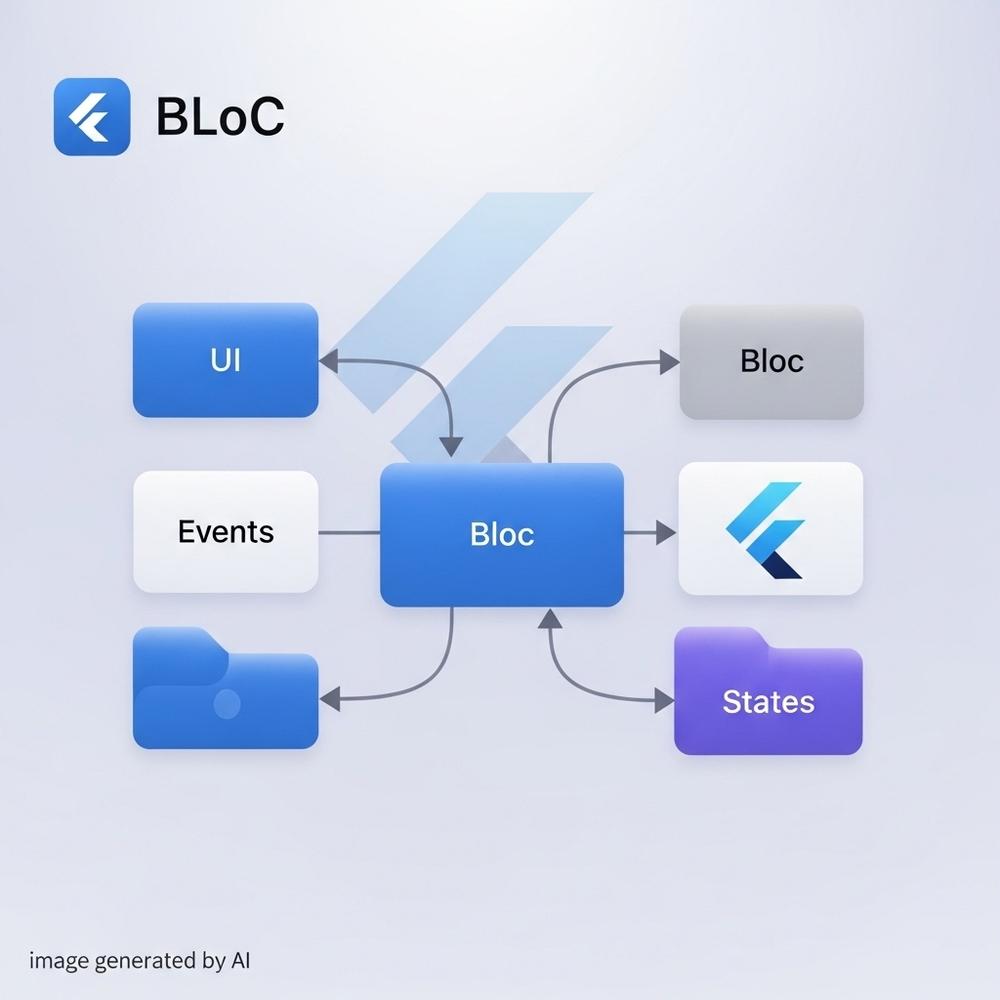
At its core, the BLoC pattern is a way to handle state in an application. It works by taking events from the UI, processing them in the business logic layer, and emitting new states back to the UI. The UI then rebuilds itself based on the new state.
The main benefits of using BLoC are:
- Separation of Concerns: Your UI code only cares about rendering states and dispatching events. Your business logic is contained entirely within the BLoC, making it independent of the UI.
- Testability: With business logic isolated, you can write unit tests for your BLoCs without needing to render any UI components.
- Scalability: As your app grows, BLoC provides a clear and predictable way to manage state, preventing your codebase from becoming a tangled mess.
A Complete BLoC Example: Authentication Flow
Let’s build a simple authentication feature to see how all the pieces of BLoC fit together. We’ll cover defining events and states, implementing the BLoC, and connecting it to the UI.
Step 1: Defining States
First, we define the possible states our authentication feature can be in. A good approach is to use an abstract base class.
       import 'package:equatable/equatable.dart';

abstract class AuthState extends Equatable {
  const AuthState();

  @override
  List<Object> get props => [];
}

// The initial state, before any user interaction
class AuthInitial extends AuthState {}

// The state when authentication is in progress
class AuthLoading extends AuthState {}

// The state when the user is successfully authenticated
class AuthSuccess extends AuthState {
  final String userToken; // Example data
  const AuthSuccess({required this.userToken});

  @override
  List<Object> get props => [userToken];
}

// The state when authentication fails
class AuthFailure extends AuthState {
  final String error;
  const AuthFailure({required this.error});

  @override
  List<Object> get props => [error];
}
Step 2: Defining Events
Next, we define the events that the UI can send to the BLoC to trigger state changes.
       import 'package:equatable/equatable.dart';

abstract class AuthEvent extends Equatable {
  const AuthEvent();

  @override
  List<Object> get props => [];
}

// Event triggered when the user tries to log in
class AuthLoginRequested extends AuthEvent {
  final String email;
  final String password;

  const AuthLoginRequested({required this.email, required this.password});

  @override
  List<Object> get props => [email, password];
}

// Event triggered when the user logs out
class AuthLogoutRequested extends AuthEvent {}
Step 3: Implementing the BLoC
Now we create the AuthBloc itself. It will listen for AuthEvents and emit AuthStates in response. This is where your business logic lives.
       import 'package:flutter_bloc/flutter_bloc.dart';
// Import your event and state files

class AuthBloc extends Bloc<AuthEvent, AuthState> {
  // You would typically inject a repository or service here
  // final AuthRepository authRepository;

  AuthBloc() : super(AuthInitial()) {
    on<AuthLoginRequested>(_onLoginRequested);
    on<AuthLogoutRequested>(_onLogoutRequested);
  }

  Future<void> _onLoginRequested(
    AuthLoginRequested event,
    Emitter<AuthState> emit,
  ) async {
    emit(AuthLoading());
    try {
      // Simulate a network call
      await Future.delayed(const Duration(seconds: 2));

      if (event.email == '[email protected]' && event.password == 'password') {
        const token = 'fake-jwt-token';
        emit(const AuthSuccess(userToken: token));
      } else {
        throw 'Invalid credentials';
      }
    } catch (e) {
      emit(AuthFailure(error: e.toString()));
    }
  }

  Future<void> _onLogoutRequested(
    AuthLogoutRequested event,
    Emitter<AuthState> emit,
  ) async {
    // Clear user session, etc.
    emit(AuthInitial());
  }
}
Step 4: Connecting BLoC to the UI
To use our AuthBloc, we first need to provide it to our widget tree using BlocProvider. This is often done at the root of your app or the top of the relevant feature screen.
       // main.dart or a similar entry point
runApp(
  BlocProvider(
    create: (context) => AuthBloc(),
    child: const MyApp(),
  ),
);
Now, within our UI, we can use BlocBuilder to listen for state changes and rebuild widgets, and BlocListener for one-time actions like navigation or showing a snackbar. A great widget that combines both is BlocConsumer.
Let’s see it in a login page:
       class LoginPage extends StatelessWidget {
  const LoginPage({super.key});

  @override
  Widget build(BuildContext context) {
    final emailController = TextEditingController();
    final passwordController = TextEditingController();

    return Scaffold(
      appBar: AppBar(title: const Text('Login')),
      body: BlocConsumer<AuthBloc, AuthState>(
        listener: (context, state) {
          // Listener for side-effects
          if (state is AuthFailure) {
            ScaffoldMessenger.of(context)
              ..hideCurrentSnackBar()
              ..showSnackBar(
                SnackBar(content: Text(state.error)),
              );
          } else if (state is AuthSuccess) {
            // Navigate to home screen on success
            Navigator.of(context).pushReplacementNamed('/home');
          }
        },
        builder: (context, state) {
          // Builder for rebuilding UI
          if (state is AuthLoading) {
            return const Center(child: CircularProgressIndicator());
          }

          return Padding(
            padding: const EdgeInsets.all(16.0),
            child: Column(
              mainAxisAlignment: MainAxisAlignment.center,
              children: [
                TextField(
                  controller: emailController,
                  decoration: const InputDecoration(labelText: 'Email'),
                ),
                TextField(
                  controller: passwordController,
                  obscureText: true,
                  decoration: const InputDecoration(labelText: 'Password'),
                ),
                const SizedBox(height: 20),
                ElevatedButton(
                  onPressed: () {
                    // Add the login event to the BLoC
                    context.read<AuthBloc>().add(
                          AuthLoginRequested(
                            email: emailController.text,
                            password: passwordController.text,
                          ),
                        );
                  },
                  child: const Text('Login'),
                ),
              ],
            ),
          );
        },
      ),
    );
  }
}
This example shows the full loop:
- The UI dispatches an
AuthLoginRequestedevent when the button is pressed. - The
AuthBlocreceives the event, emits anAuthLoadingstate. - The
BlocConsumerrebuilds the UI to show a loading indicator. - The BLoC finishes its logic and emits either
AuthSuccessorAuthFailure. - The
BlocConsumer’slistenertriggers a navigation or a snackbar, and thebuilderupdates the UI if needed.
Conclusion
The BLoC pattern can seem complex, but breaking it down into events, states, and the BLoC itself makes it manageable. By creating a clear, unidirectional flow of data, you can build applications that are robust, testable, and easy to scale.
The key takeaway is to let events drive your logic and states drive your UI. By fully embracing this separation, you’ll be well on your way to mastering state management in your Flutter projects and writing cleaner, more maintainable code.